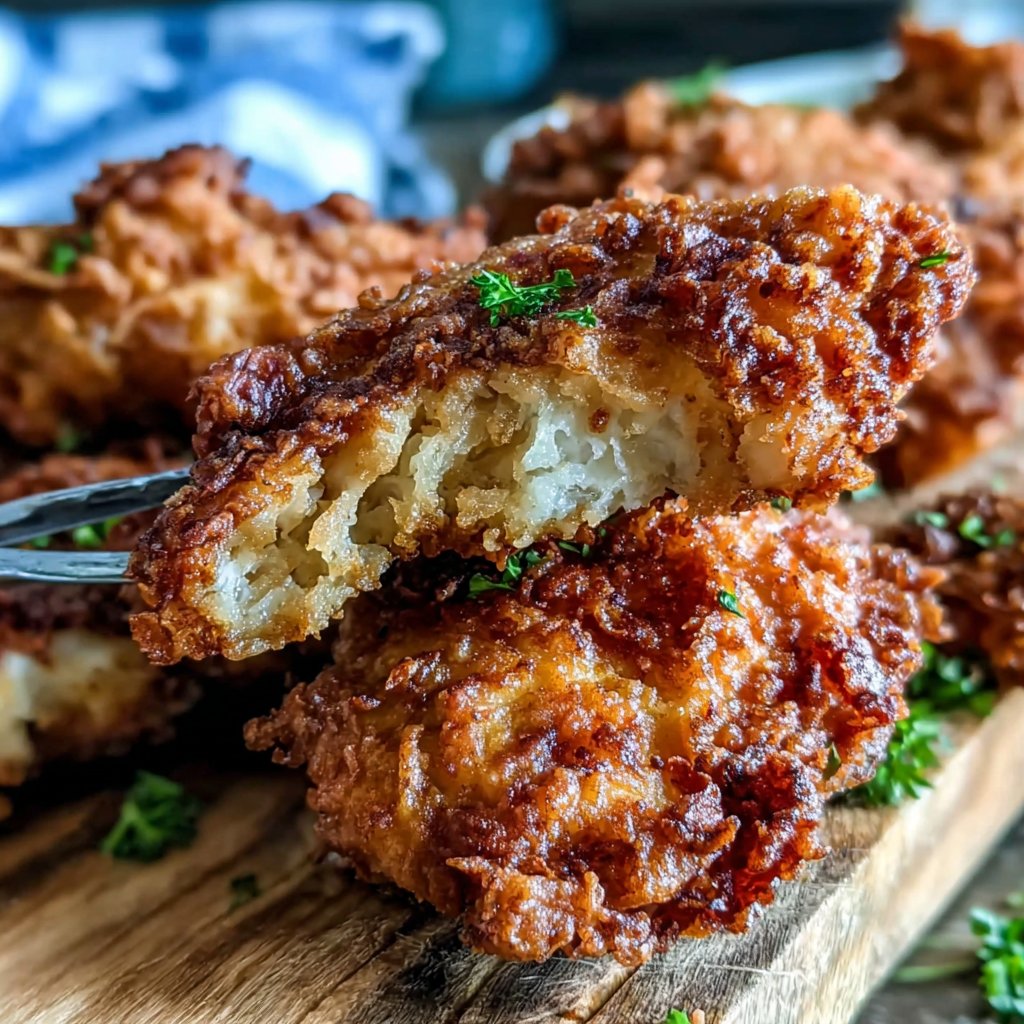
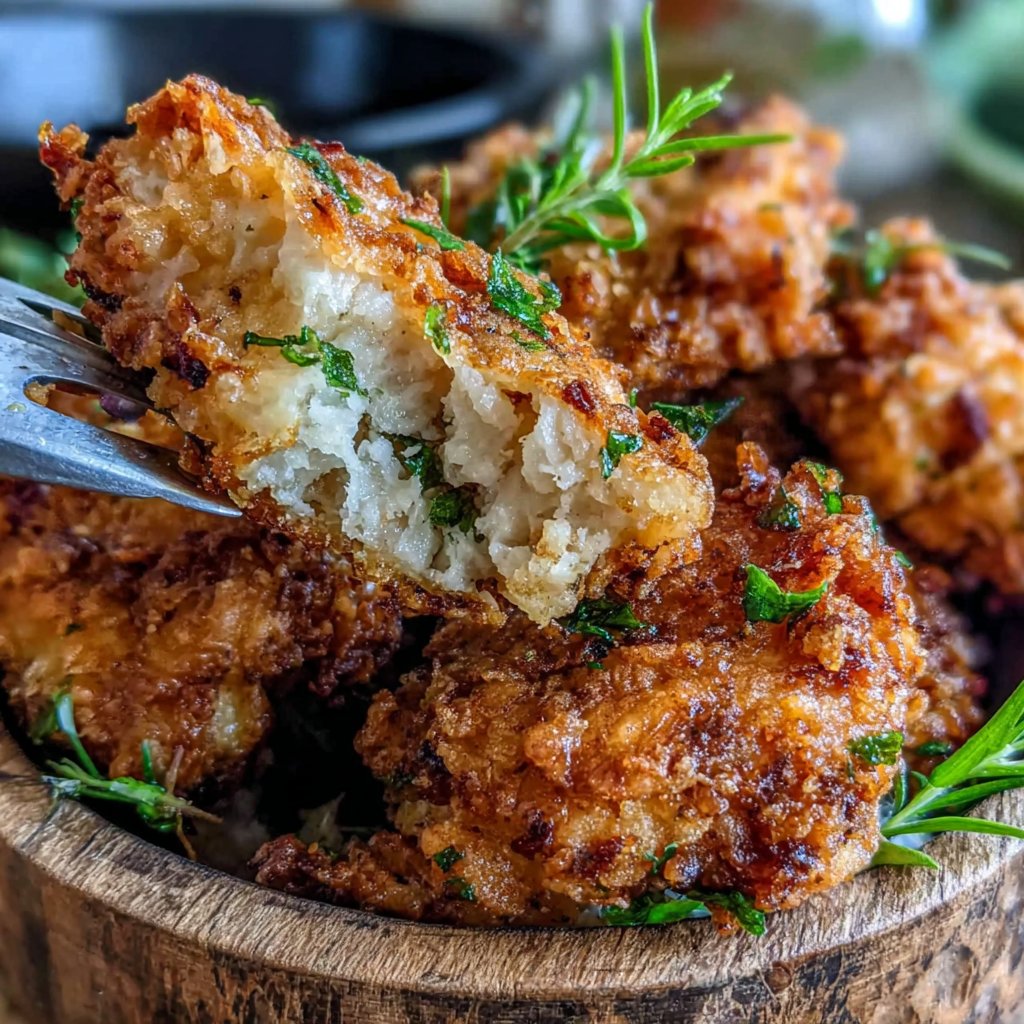
Southern Fried Chicken
Highlighted under: Comfort Kitchen
When it comes to comfort food, nothing quite compares to the crispy, juicy goodness of Southern fried chicken. I remember the first time I tried making it myself—it quickly became a family favorite. I love the process of marinating the chicken in buttermilk and spices, which gives it that incredible flavor and tenderness. The secret to achieving the perfect crispy crust lies in the double-dipping method, which I’ve found consistently delivers that golden-brown exterior that we all crave. It's definitely worth the effort!
Making Southern fried chicken is an experience I always look forward to, especially during family gatherings. After various attempts, I’ve learned that the key not only lies in using high-quality chicken but also in the precise balance of spices. I like to enhance the flavors with a hint of paprika and cayenne, which adds just the right kick. Each bite is a reminder of warm Southern kitchens and joyful memories shared around the dinner table.
I also discovered that resting the chicken after frying is crucial for a crunchy texture. As tempting as it is to dig in immediately, letting the chicken sit for a few minutes allows the crust to firm up. This technique has transformed my fried chicken into a beloved dish that everyone requests!
Why You'll Love This Recipe
- Extra crispy exterior that's packed with flavor
- Juicy and tender chicken that melts in your mouth
- Perfect for family meals or casual gatherings
Mastering the Marinade
The buttermilk marinade is the backbone of this Southern fried chicken recipe, adding both moisture and depth of flavor. Buttermilk's acidity helps to tenderize the chicken, breaking down muscle fibers and resulting in a juicier bite. When marinating, consider experimenting with the spice blend—adding a hint of thyme or a splash of hot sauce can elevate the flavor profile even further. Remember, the longer you marinate, the more pronounced the flavors become; overnight is ideal if you have the time.
While the marinade is important, make sure to reserve some for brushing onto the chicken just before dredging. This additional layer of buttermilk keeps the coating moist, allowing the flour to adhere better and create an excellent texture when fried. Ideally, this method leads to a crust that is not just crispy, but also flavorful and succulent.
The Perfect Frying Technique
Frying the chicken requires close attention to temperature to ensure it cooks perfectly. Ideally, heat the oil to around 350°F (175°C) before adding the chicken. Too hot and the coating may burn before the chicken cooks through; too cool and you'll end up with greasy, soggy chicken. I recommend using a candy or deep-fry thermometer for accuracy. Maintain this temperature throughout frying, adjusting the heat as necessary.
When placing the chicken in hot oil, be mindful not to overcrowd the pan. This can drop the oil temperature, leading to uneven cooking. Fry in batches if necessary, ensuring each piece has enough space to bubble and cook evenly. A good rule of thumb is to allow around 10-12 minutes per side, but always check internal temperatures for safety.
Serving and Storing
Once the chicken is fried to golden perfection, let it drain on a wire rack rather than paper towels. This allows air to circulate around the chicken, keeping the crust crisp instead of soggy. For the best experience, serve the chicken warm, paired with classic sides like coleslaw, cornbread, or mashed potatoes. A drizzle of honey or hot sauce can add an exciting finish, complementing the savory flavors beautifully.
If you have leftovers, keep the chicken in an airtight container in the refrigerator for up to 3 days. Reheating in an oven at 375°F (190°C) ensures the chicken stays crispy—no one likes soggy fried chicken! Alternatively, you can freeze the cooked chicken for up to three months. To reheat from frozen, place in a preheated oven directly until warmed through, about 25 minutes, for a delicious second serving.
Ingredients
For the Chicken
- 4 pieces of chicken (legs and thighs preferred)
- 2 cups buttermilk
- 1 teaspoon garlic powder
- 1 teaspoon onion powder
- 1 teaspoon paprika
- 1/2 teaspoon cayenne pepper
- Salt and pepper to taste
- 2 cups all-purpose flour
- Vegetable oil for frying
Make sure to let the chicken marinate for at least 2 hours for the best flavor.
Instructions
Marinate the Chicken
In a large bowl, combine buttermilk, garlic powder, onion powder, paprika, cayenne pepper, salt, and pepper. Add the chicken pieces, ensuring they are fully submerged. Cover and refrigerate for at least 2 hours, or overnight for more flavor.
Prepare the Dredging Station
In a shallow dish, place the flour and season with additional salt and pepper. This will be used to coat the chicken for frying.
Dredge the Chicken
Remove the chicken from the marinade, allowing excess liquid to drip off. Dredge each piece thoroughly in the seasoned flour, ensuring an even coating. For extra crunch, dip them back into the buttermilk and then into the flour again.
Fry the Chicken
In a large skillet, heat vegetable oil over medium-high heat. Carefully add the coated chicken pieces, working in batches if necessary. Fry for about 10-12 minutes on each side, or until golden brown and cooked through. Use a meat thermometer to ensure the internal temperature reaches 165°F (75°C).
Drain and Serve
Once fried, transfer the chicken to a wire rack or paper towels to drain excess oil. Let rest for a few minutes before serving warm with your favorite sides.
Enjoy the crispy goodness with sides like coleslaw or mashed potatoes!
Pro Tips
- For an added kick, try marinating the chicken with hot sauce or your favorite spicy seasoning.
Ingredient Insights
The choice of chicken cuts can greatly affect the final texture and flavor. While legs and thighs are preferred for their juiciness, you can absolutely use wings or breasts if that's what you have on hand. Just adjust cooking times accordingly; thinner pieces like breasts will cook faster, typically requiring only about 8-10 minutes per side.
Using a high smoke point oil like vegetable or canola oil is crucial for achieving that perfect crispy crust. These oils can withstand the high frying temperatures without burning, maximizing flavor while helping to maintain a clean taste. Avoid olive oil, as its lower smoke point can lead to burnt flavors that detract from the dish.
Troubleshooting Common Issues
Sometimes the crispy coating can come off during frying. To prevent this, make sure the chicken is well-coated in flour after dredging and avoid moving the chicken too much in the oil. Let it fry undisturbed for the first few minutes to allow the crust to set properly before turning.
If you find that the chicken is not cooking through after browning, it's possible that the oil temperature was too high, leading to a crispy exterior but an undercooked interior. In such cases, lower the heat and cover the skillet for a few minutes to help cook the chicken through without over-browning.
Questions About Recipes
→ Can I use chicken breasts instead of legs and thighs?
Yes, but be aware that chicken breasts may cook faster, so adjust frying time accordingly.
→ How can I make this recipe gluten-free?
You can substitute all-purpose flour with a gluten-free flour blend.
→ What sides pair well with Southern fried chicken?
Traditional sides include coleslaw, cornbread, and mashed potatoes.
→ Can I prepare the chicken ahead of time?
Yes, you can marinate the chicken a day in advance for enhanced flavor.
Southern Fried Chicken
Created by: The Jamescookbook Team
Recipe Type: Comfort Kitchen
Skill Level: Intermediate
Final Quantity: 4 servings
What You'll Need
For the Chicken
- 4 pieces of chicken (legs and thighs preferred)
- 2 cups buttermilk
- 1 teaspoon garlic powder
- 1 teaspoon onion powder
- 1 teaspoon paprika
- 1/2 teaspoon cayenne pepper
- Salt and pepper to taste
- 2 cups all-purpose flour
- Vegetable oil for frying
How-To Steps
In a large bowl, combine buttermilk, garlic powder, onion powder, paprika, cayenne pepper, salt, and pepper. Add the chicken pieces, ensuring they are fully submerged. Cover and refrigerate for at least 2 hours, or overnight for more flavor.
In a shallow dish, place the flour and season with additional salt and pepper. This will be used to coat the chicken for frying.
Remove the chicken from the marinade, allowing excess liquid to drip off. Dredge each piece thoroughly in the seasoned flour, ensuring an even coating. For extra crunch, dip them back into the buttermilk and then into the flour again.
In a large skillet, heat vegetable oil over medium-high heat. Carefully add the coated chicken pieces, working in batches if necessary. Fry for about 10-12 minutes on each side, or until golden brown and cooked through. Use a meat thermometer to ensure the internal temperature reaches 165°F (75°C).
Once fried, transfer the chicken to a wire rack or paper towels to drain excess oil. Let rest for a few minutes before serving warm with your favorite sides.
Extra Tips
- For an added kick, try marinating the chicken with hot sauce or your favorite spicy seasoning.
Nutritional Breakdown (Per Serving)
- Calories: 400 kcal
- Total Fat: 22g
- Saturated Fat: 5g
- Cholesterol: 85mg
- Sodium: 590mg
- Total Carbohydrates: 30g
- Dietary Fiber: 2g
- Sugars: 1g
- Protein: 25g